
TIDAL GRID. A Cheap way to haul-out your boat

How to haul-out your boat for almost FREE
Learn how to use a TIdal Grid
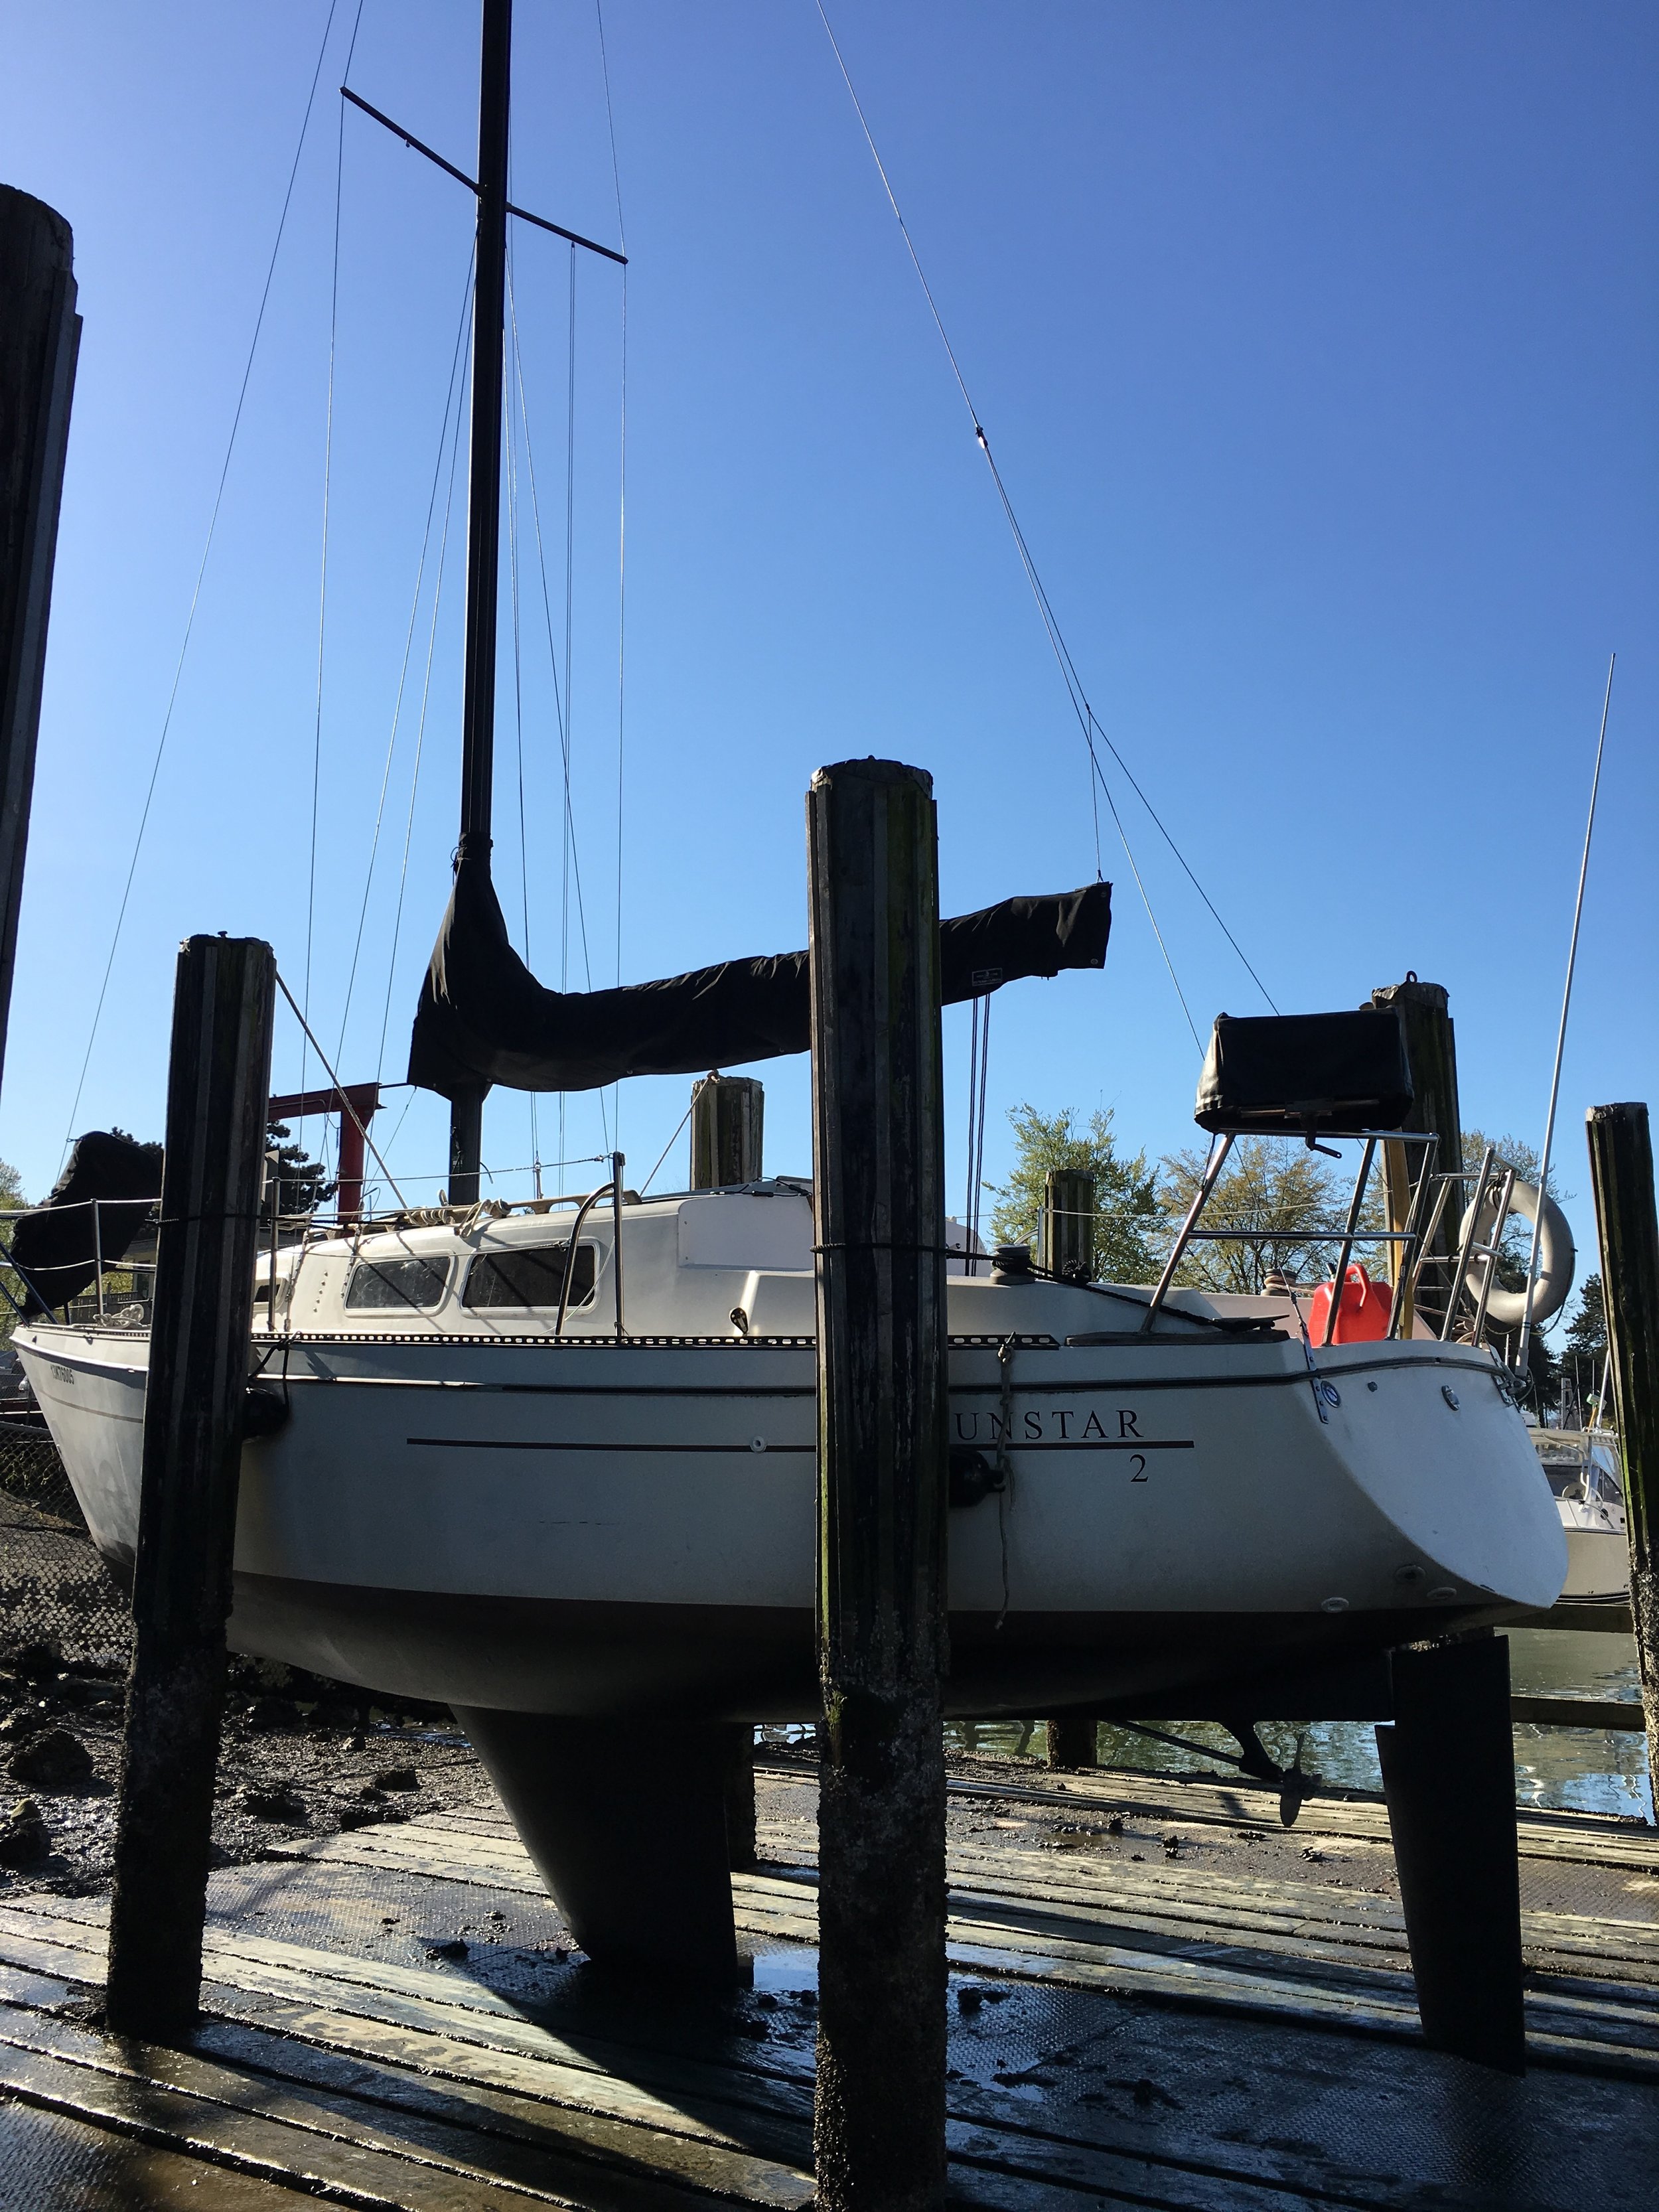
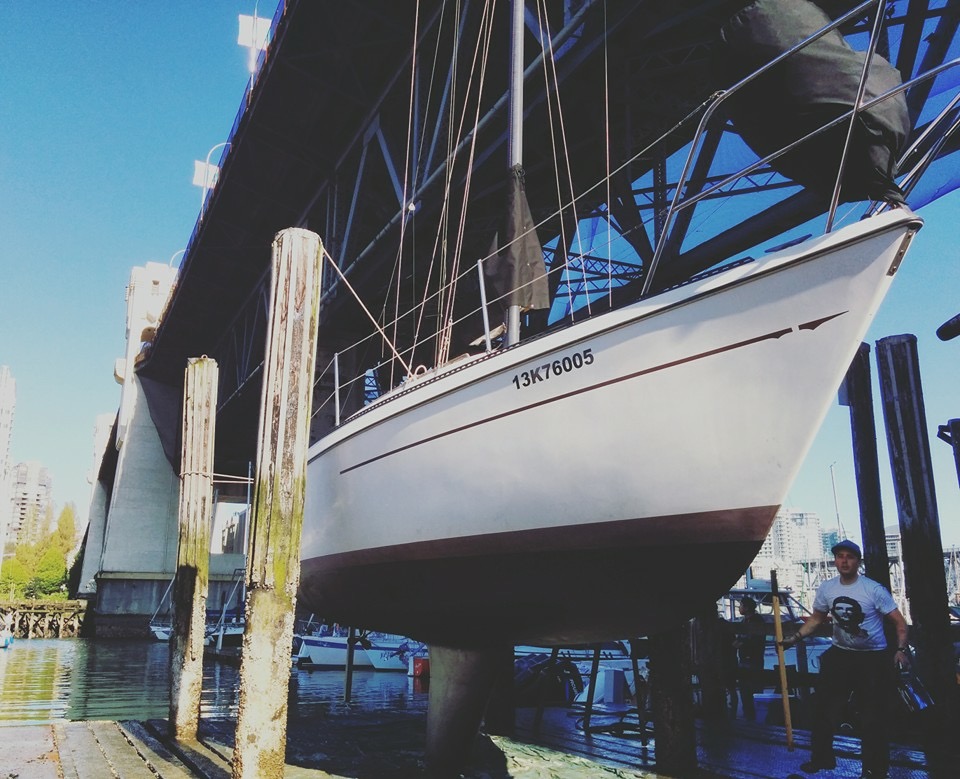
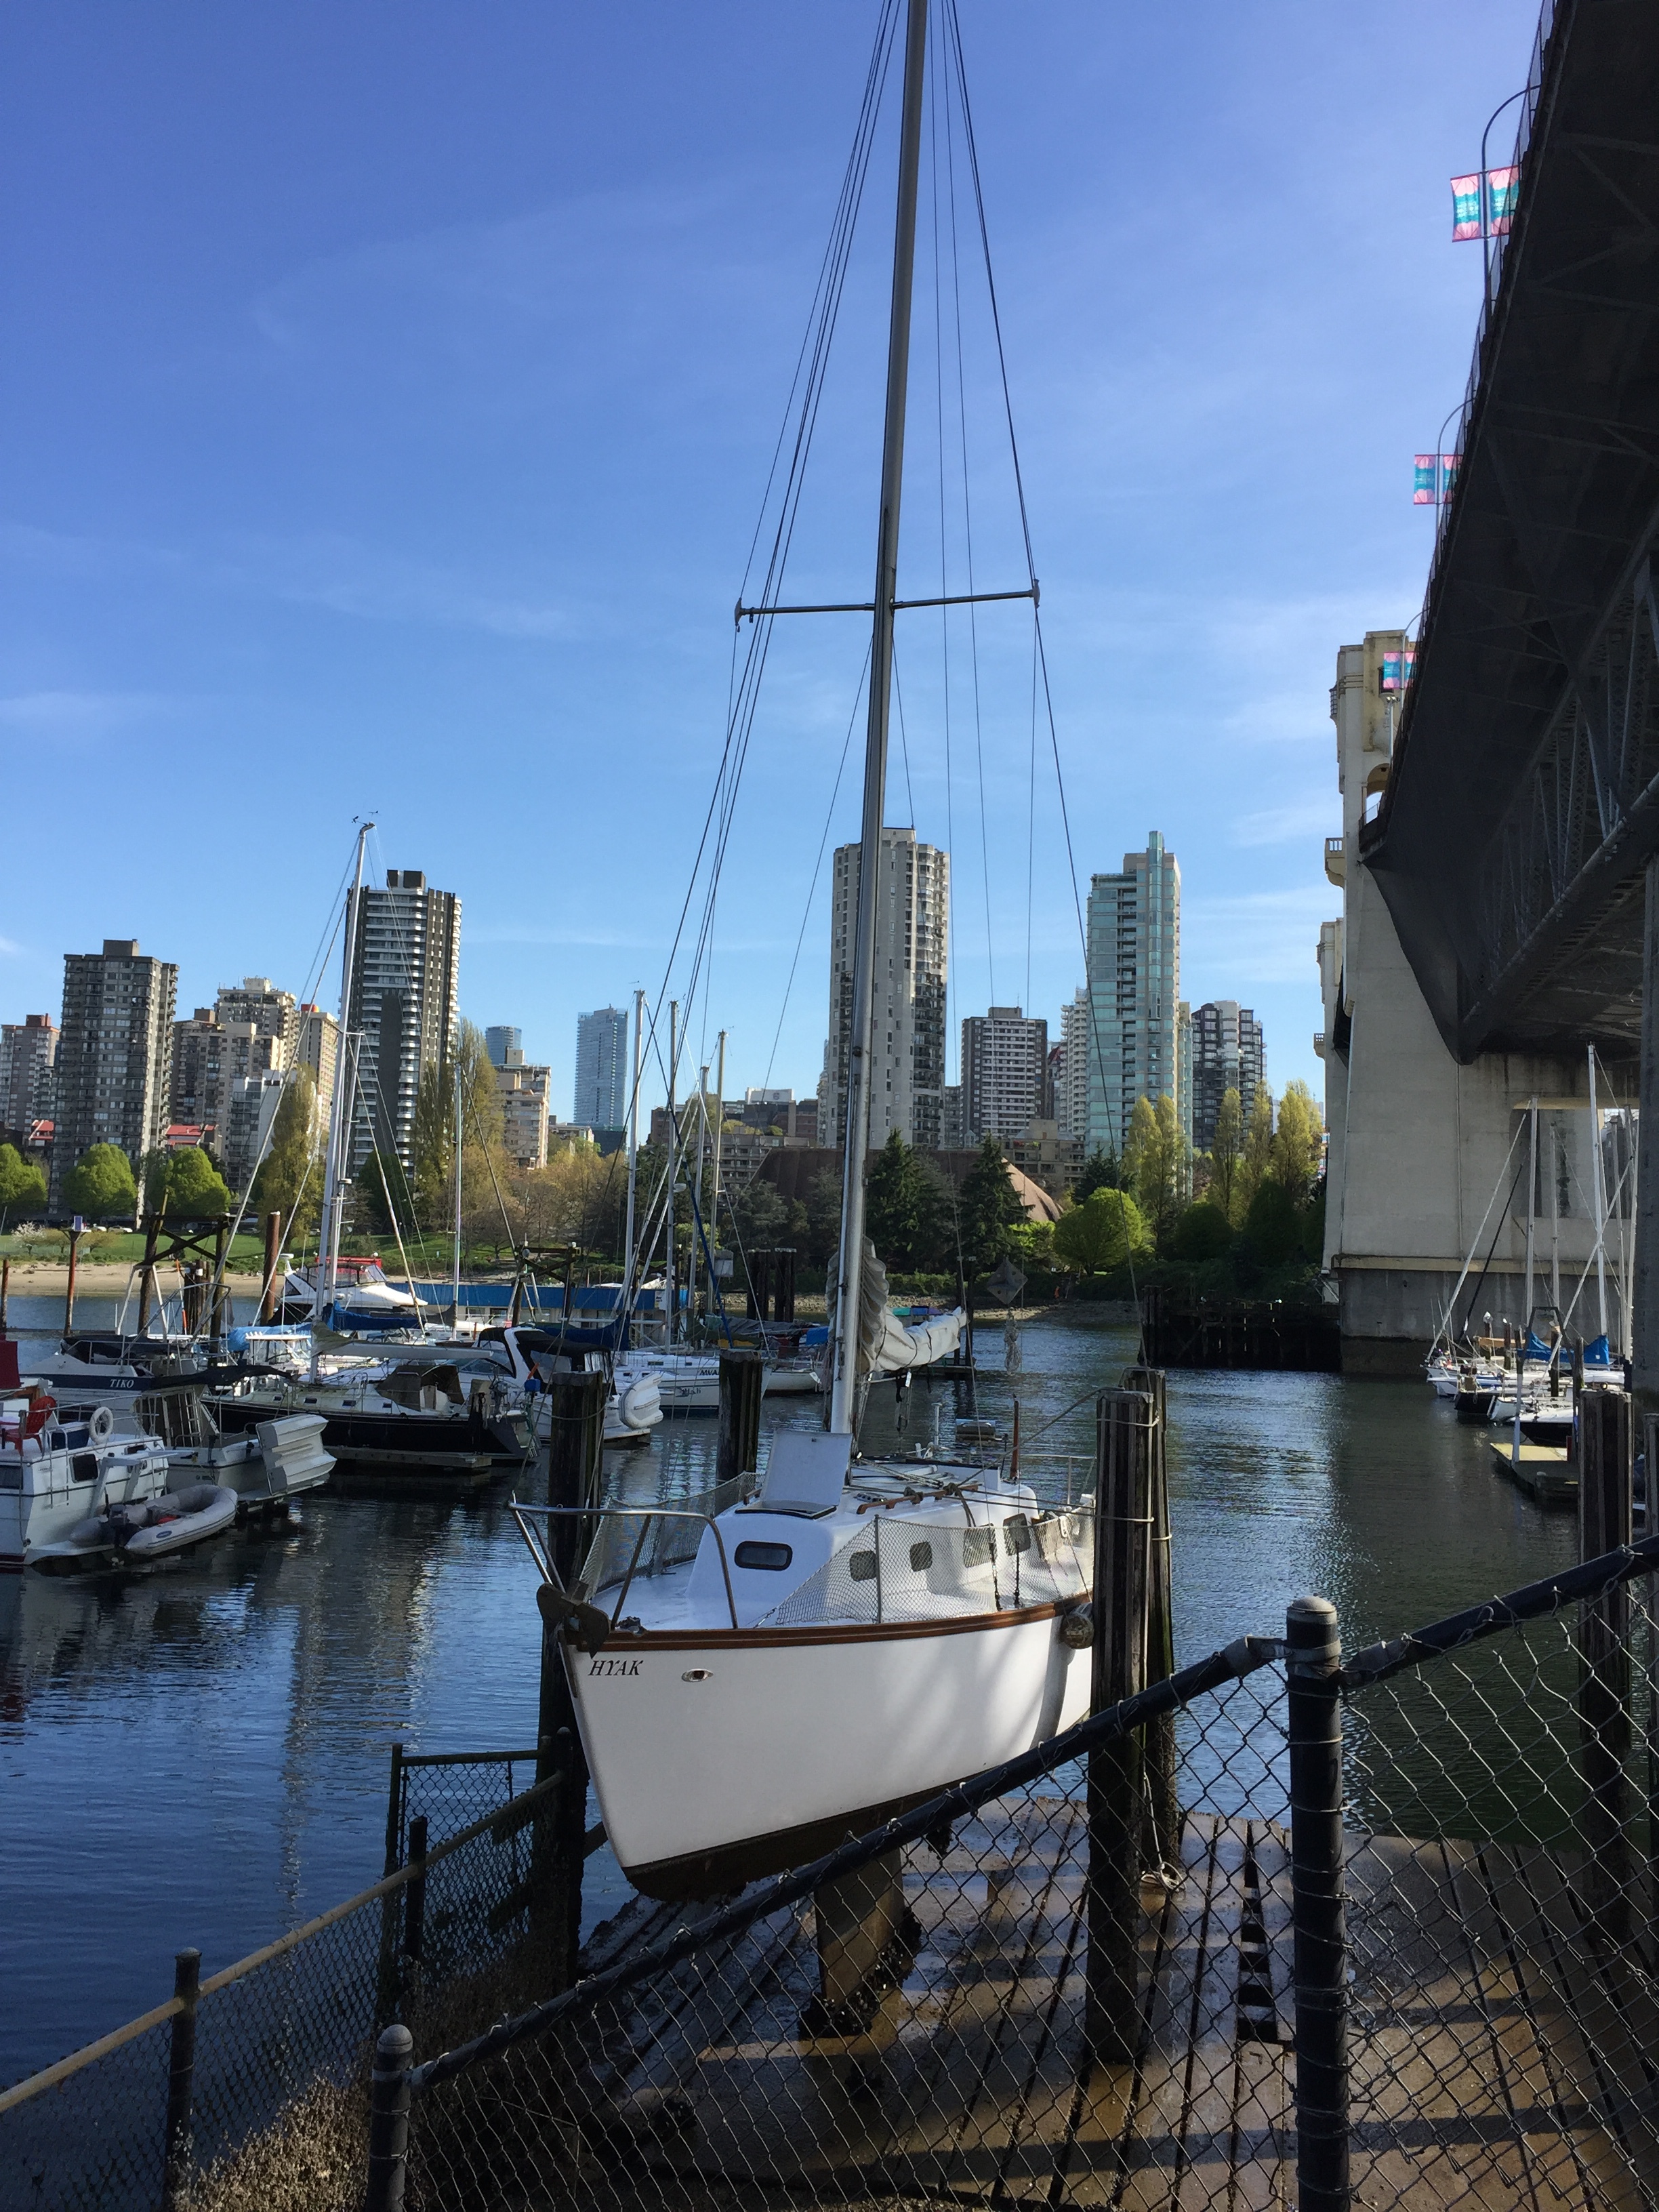
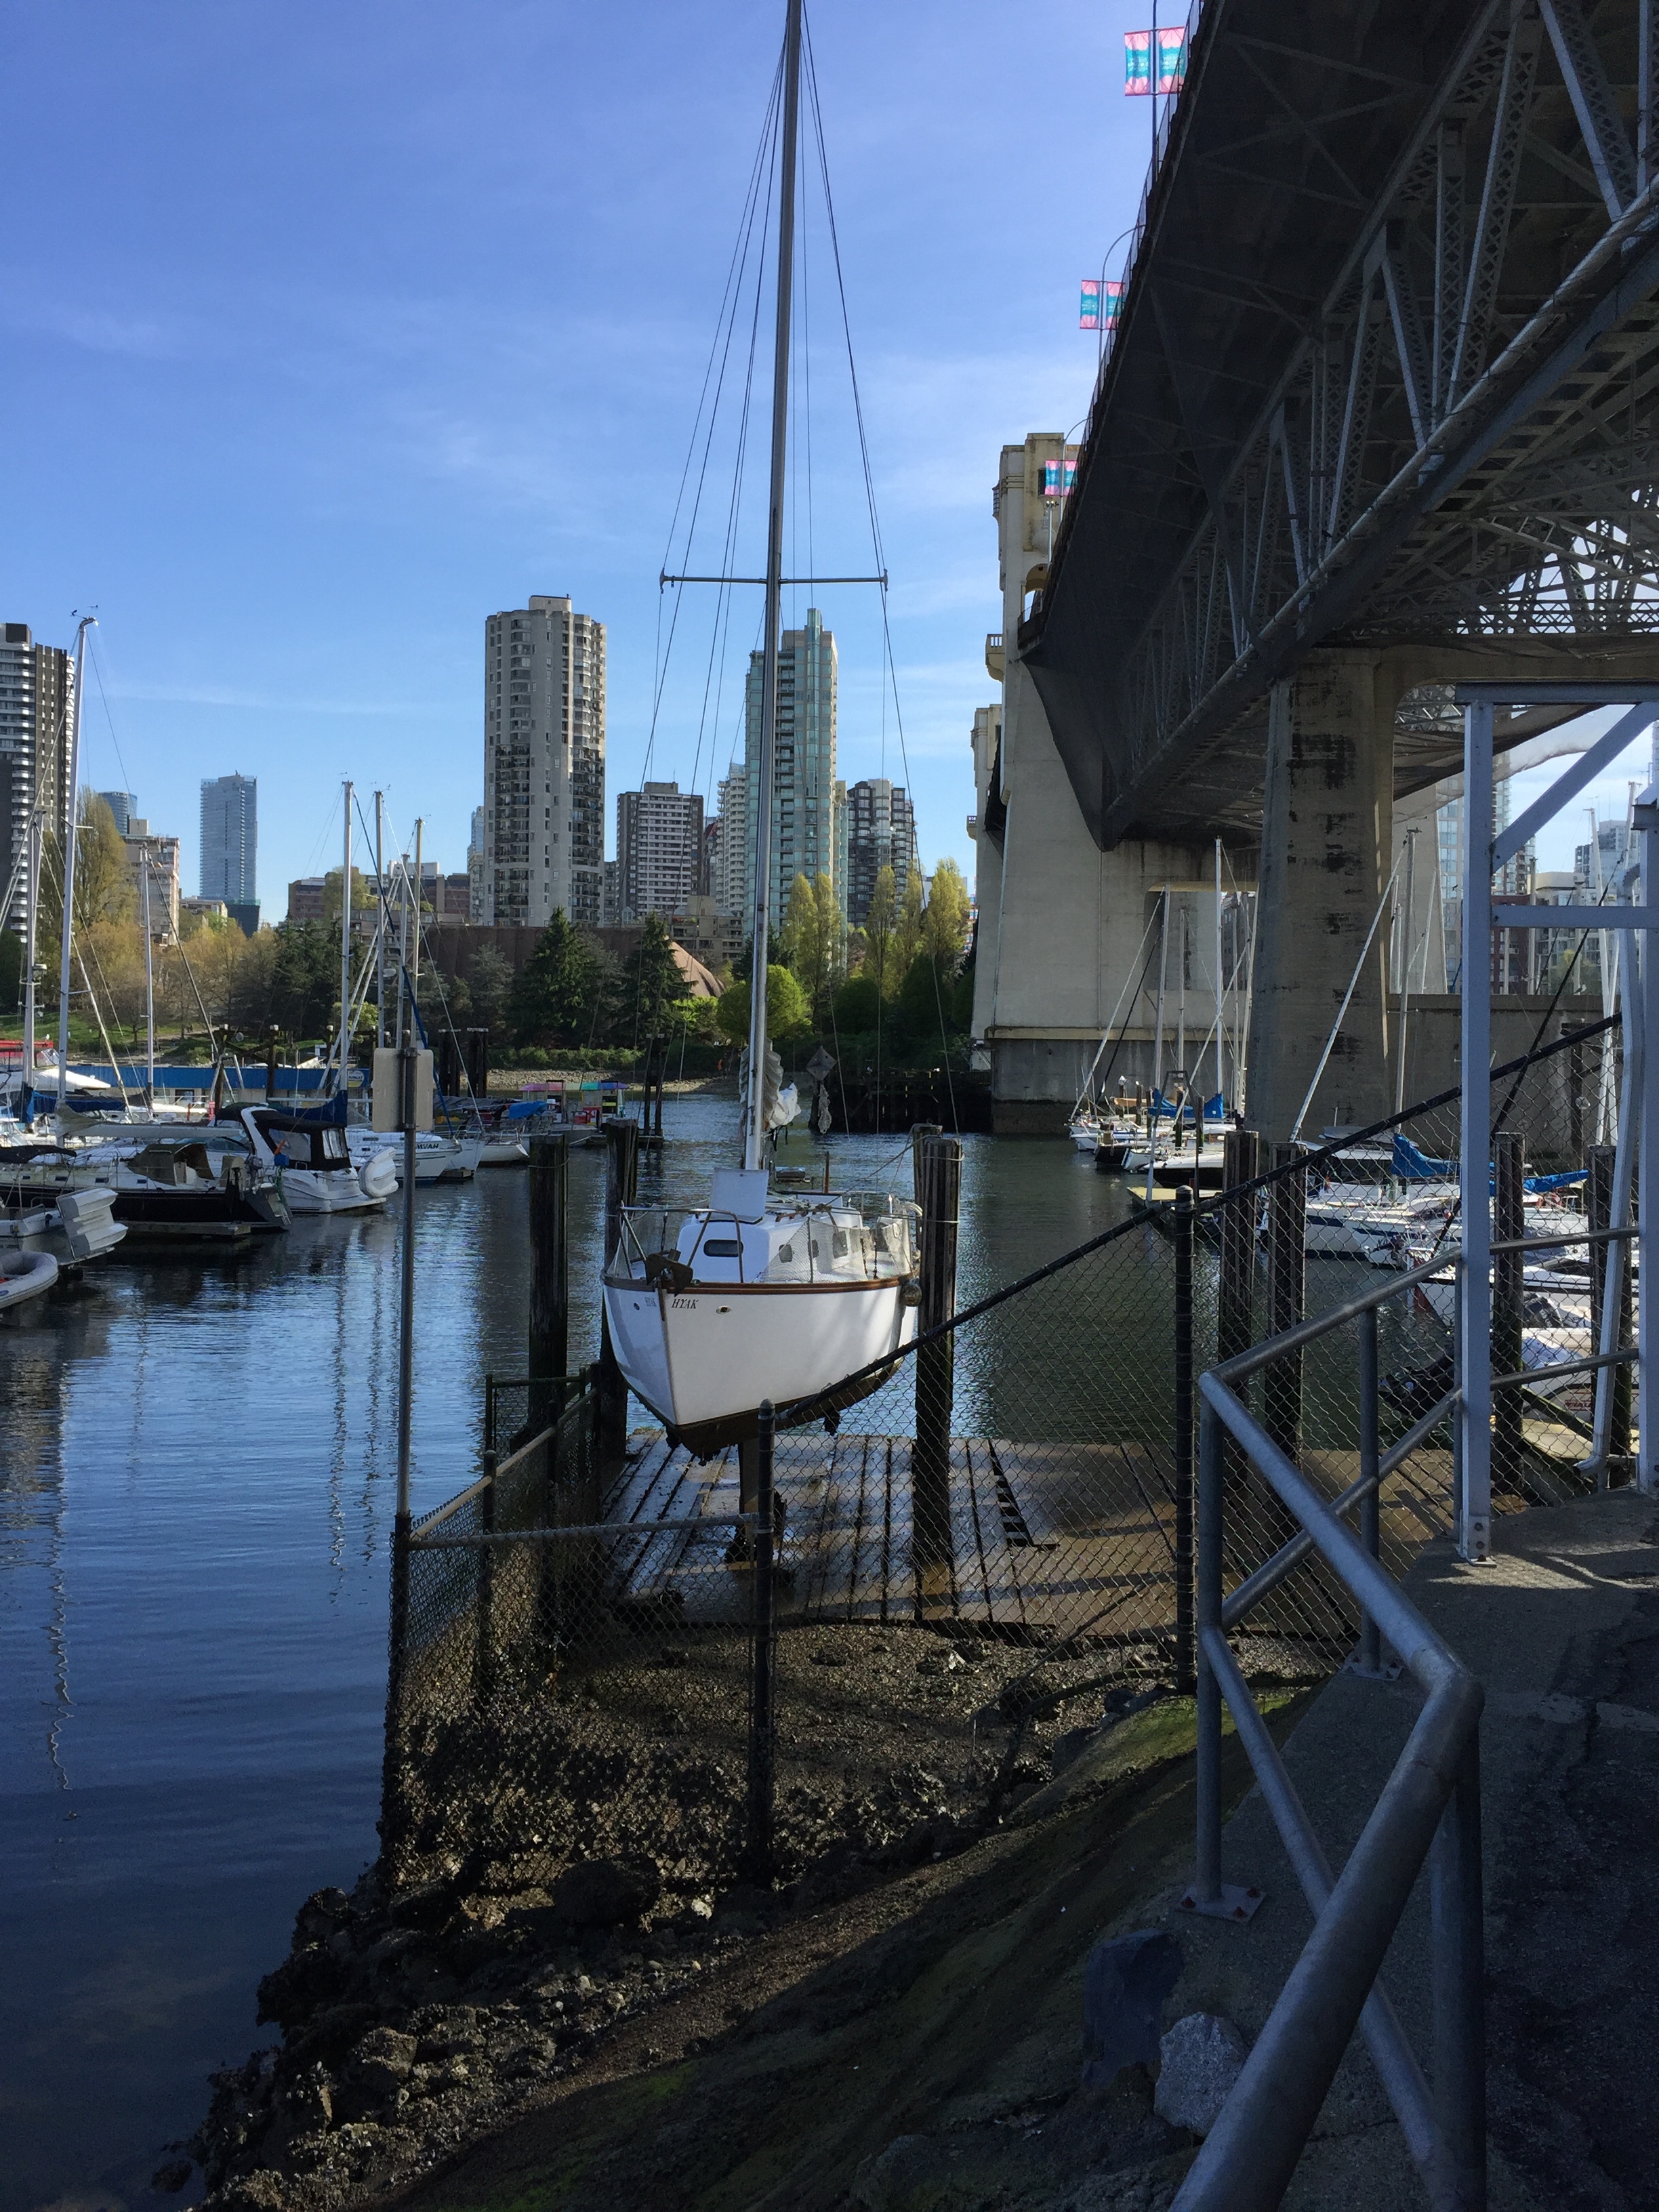
It’s time to pull the boat out of the water and you don’t want to pay the big bucks. Well, I fell you! The good news is for centuries, salty sailors didn’t have those fancy slings and trailers to pull boats out of the water. One of the proven techniques that was used was “tidal grids”. Tidal grids??! What the hell is that you say?!? Well a tidal grid is simply a place that lets you bring your boat to this location or dock at a pre-chosen high tide. After the boat is nicely tied and secured to the pillars/dock and resting on it’s keel, the hull of the boat will be exposed at low tide. This is a very affordable technique to work on your boat and do various maintenance: cleaning the hull, changing a thru-hull, zincs anodes, paint, etc.
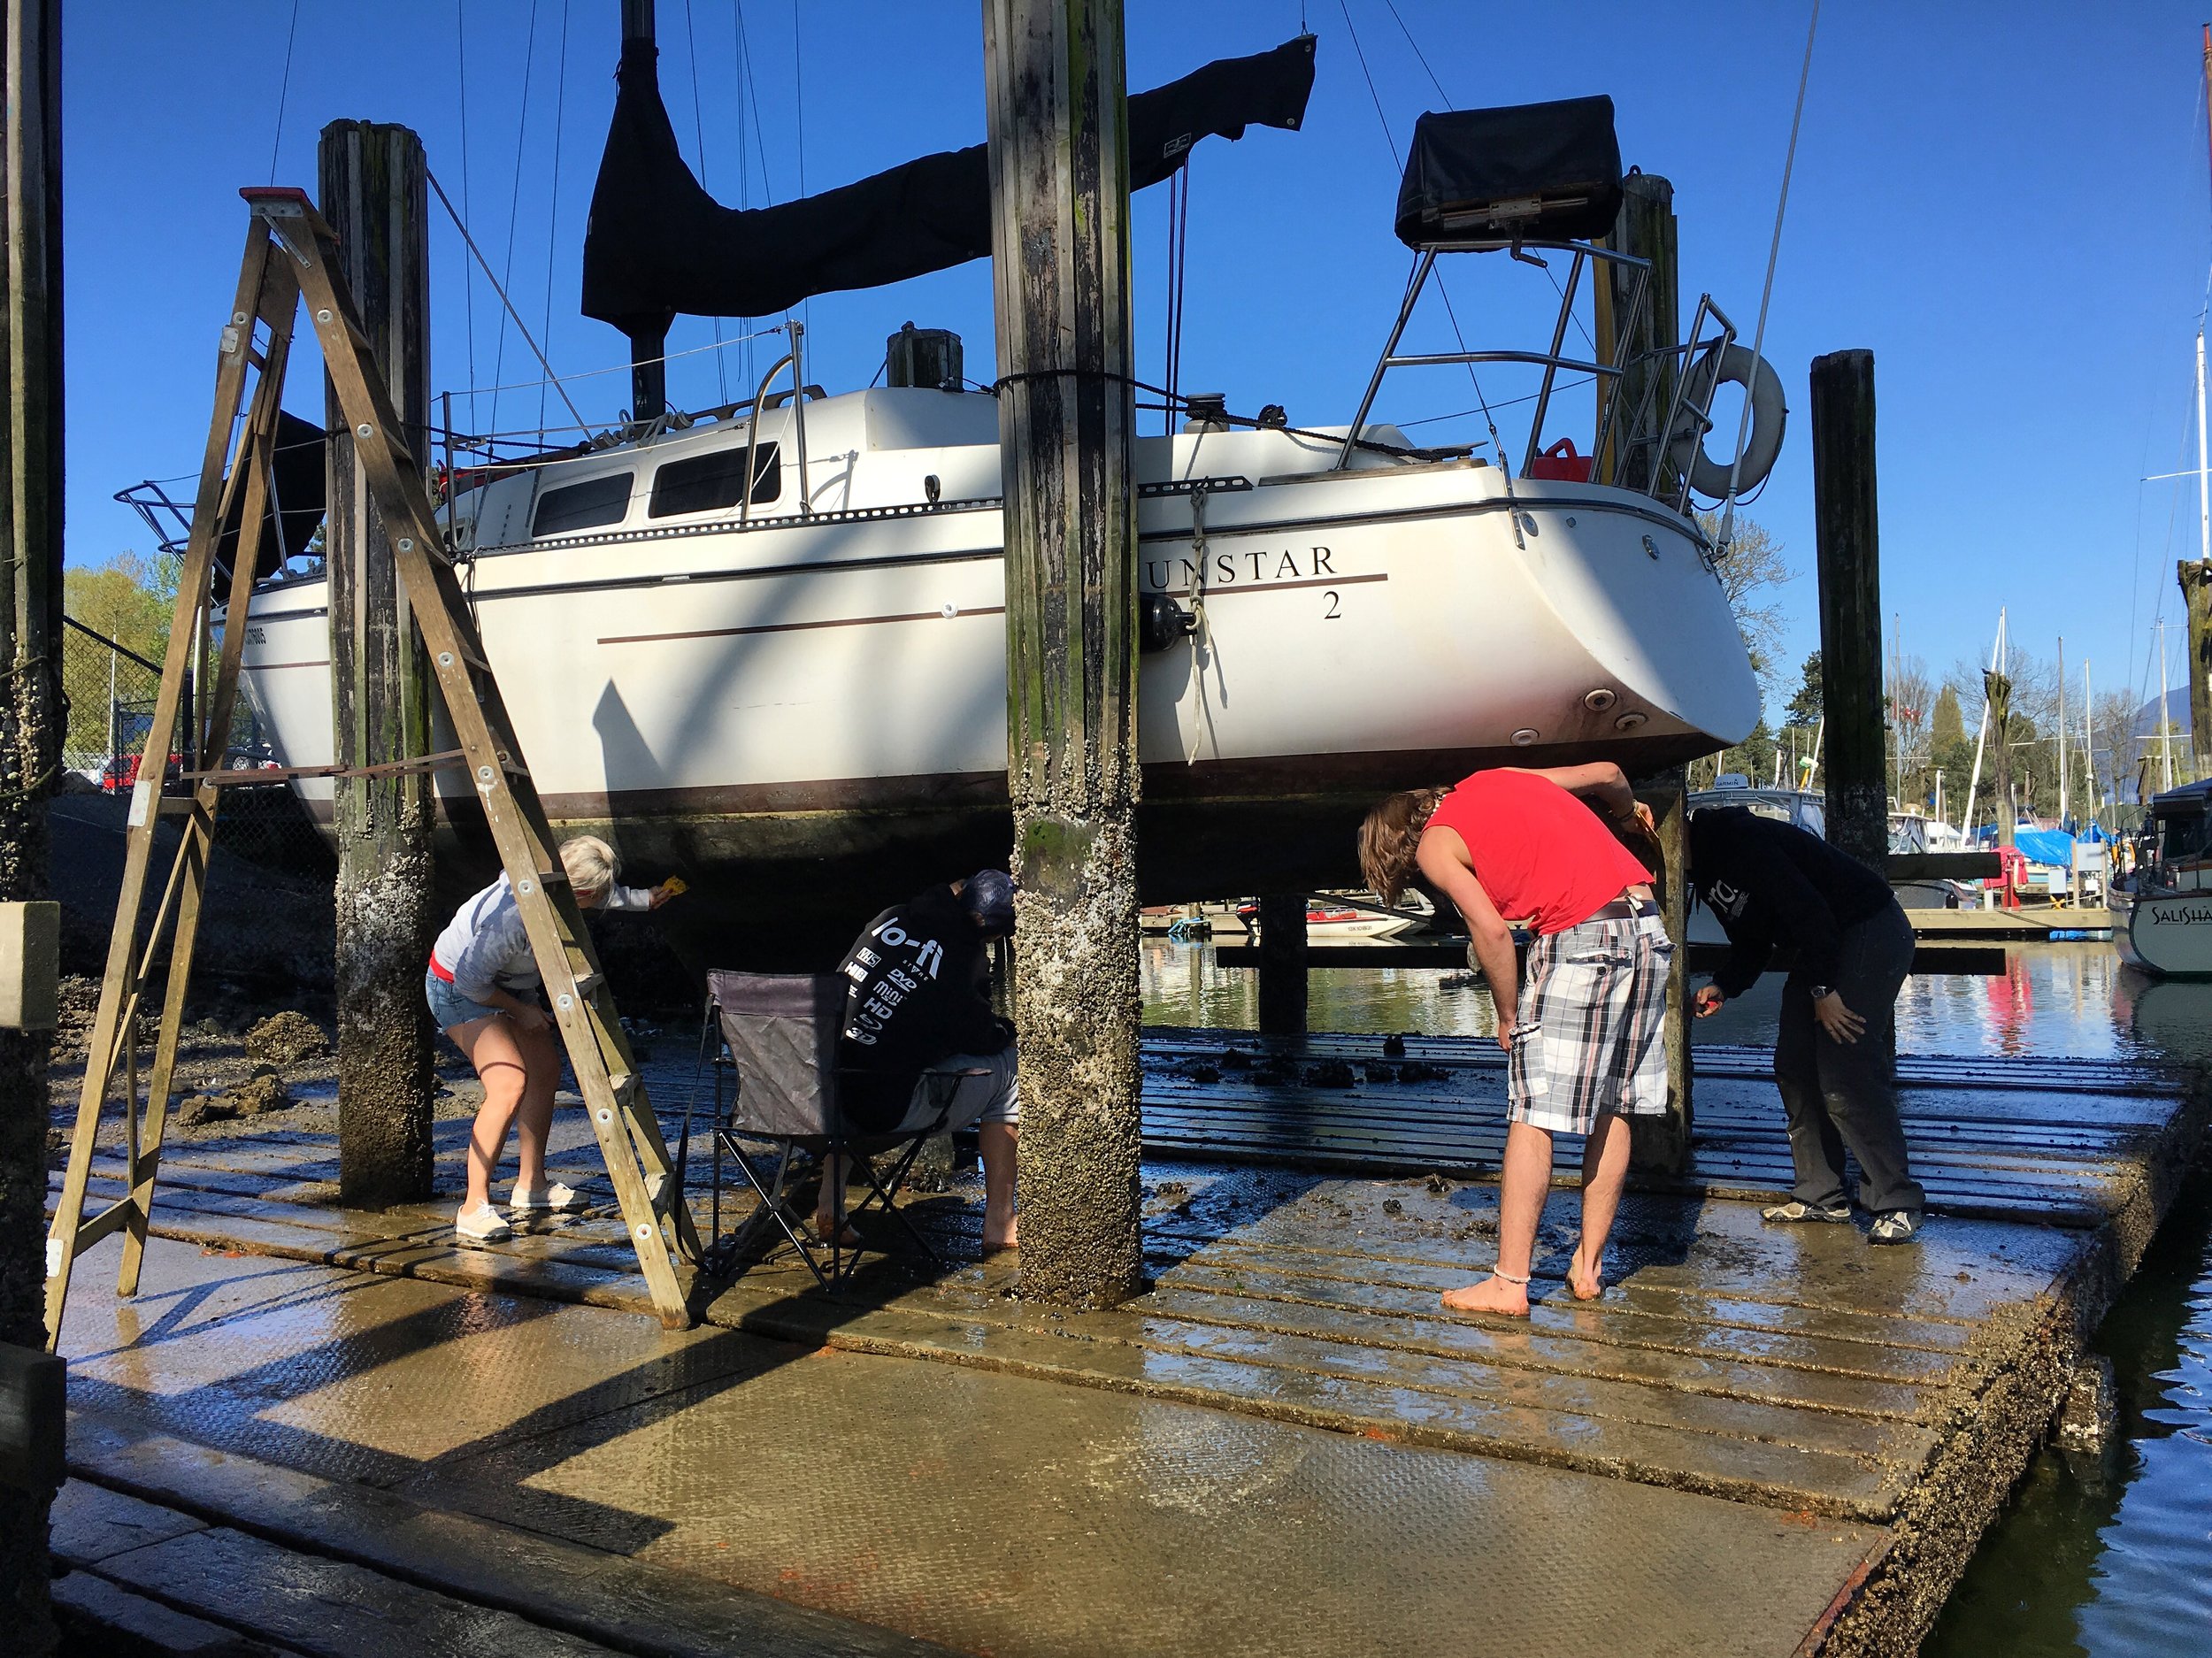
On our boat we did a full hull scrapping, cleaning and full repaint with 2 coats of anti-falling paint. With all the money we saved, we hosted dinner and beers for all our friends that came to help us that day.
I know the idea of balancing your sailboat on the keel sounds quite scary, but if done properly, it’s a lot easier than you think. Through this post, I will walk you through all the steps I took in order to successfully use a tidal grid and save tons of money!! $$$

HOW TO:
Know your boat’s specifications: Find out what your boat specs and tidal grid or dock dimensions are. You want to know what your draft is (the depth of your boat from the waterline to the bottom of the keel). If you are going to use pillars, make sure your boat’s width (beam measurement) will fit in between them, including the fenders (will get to preparation on this later).
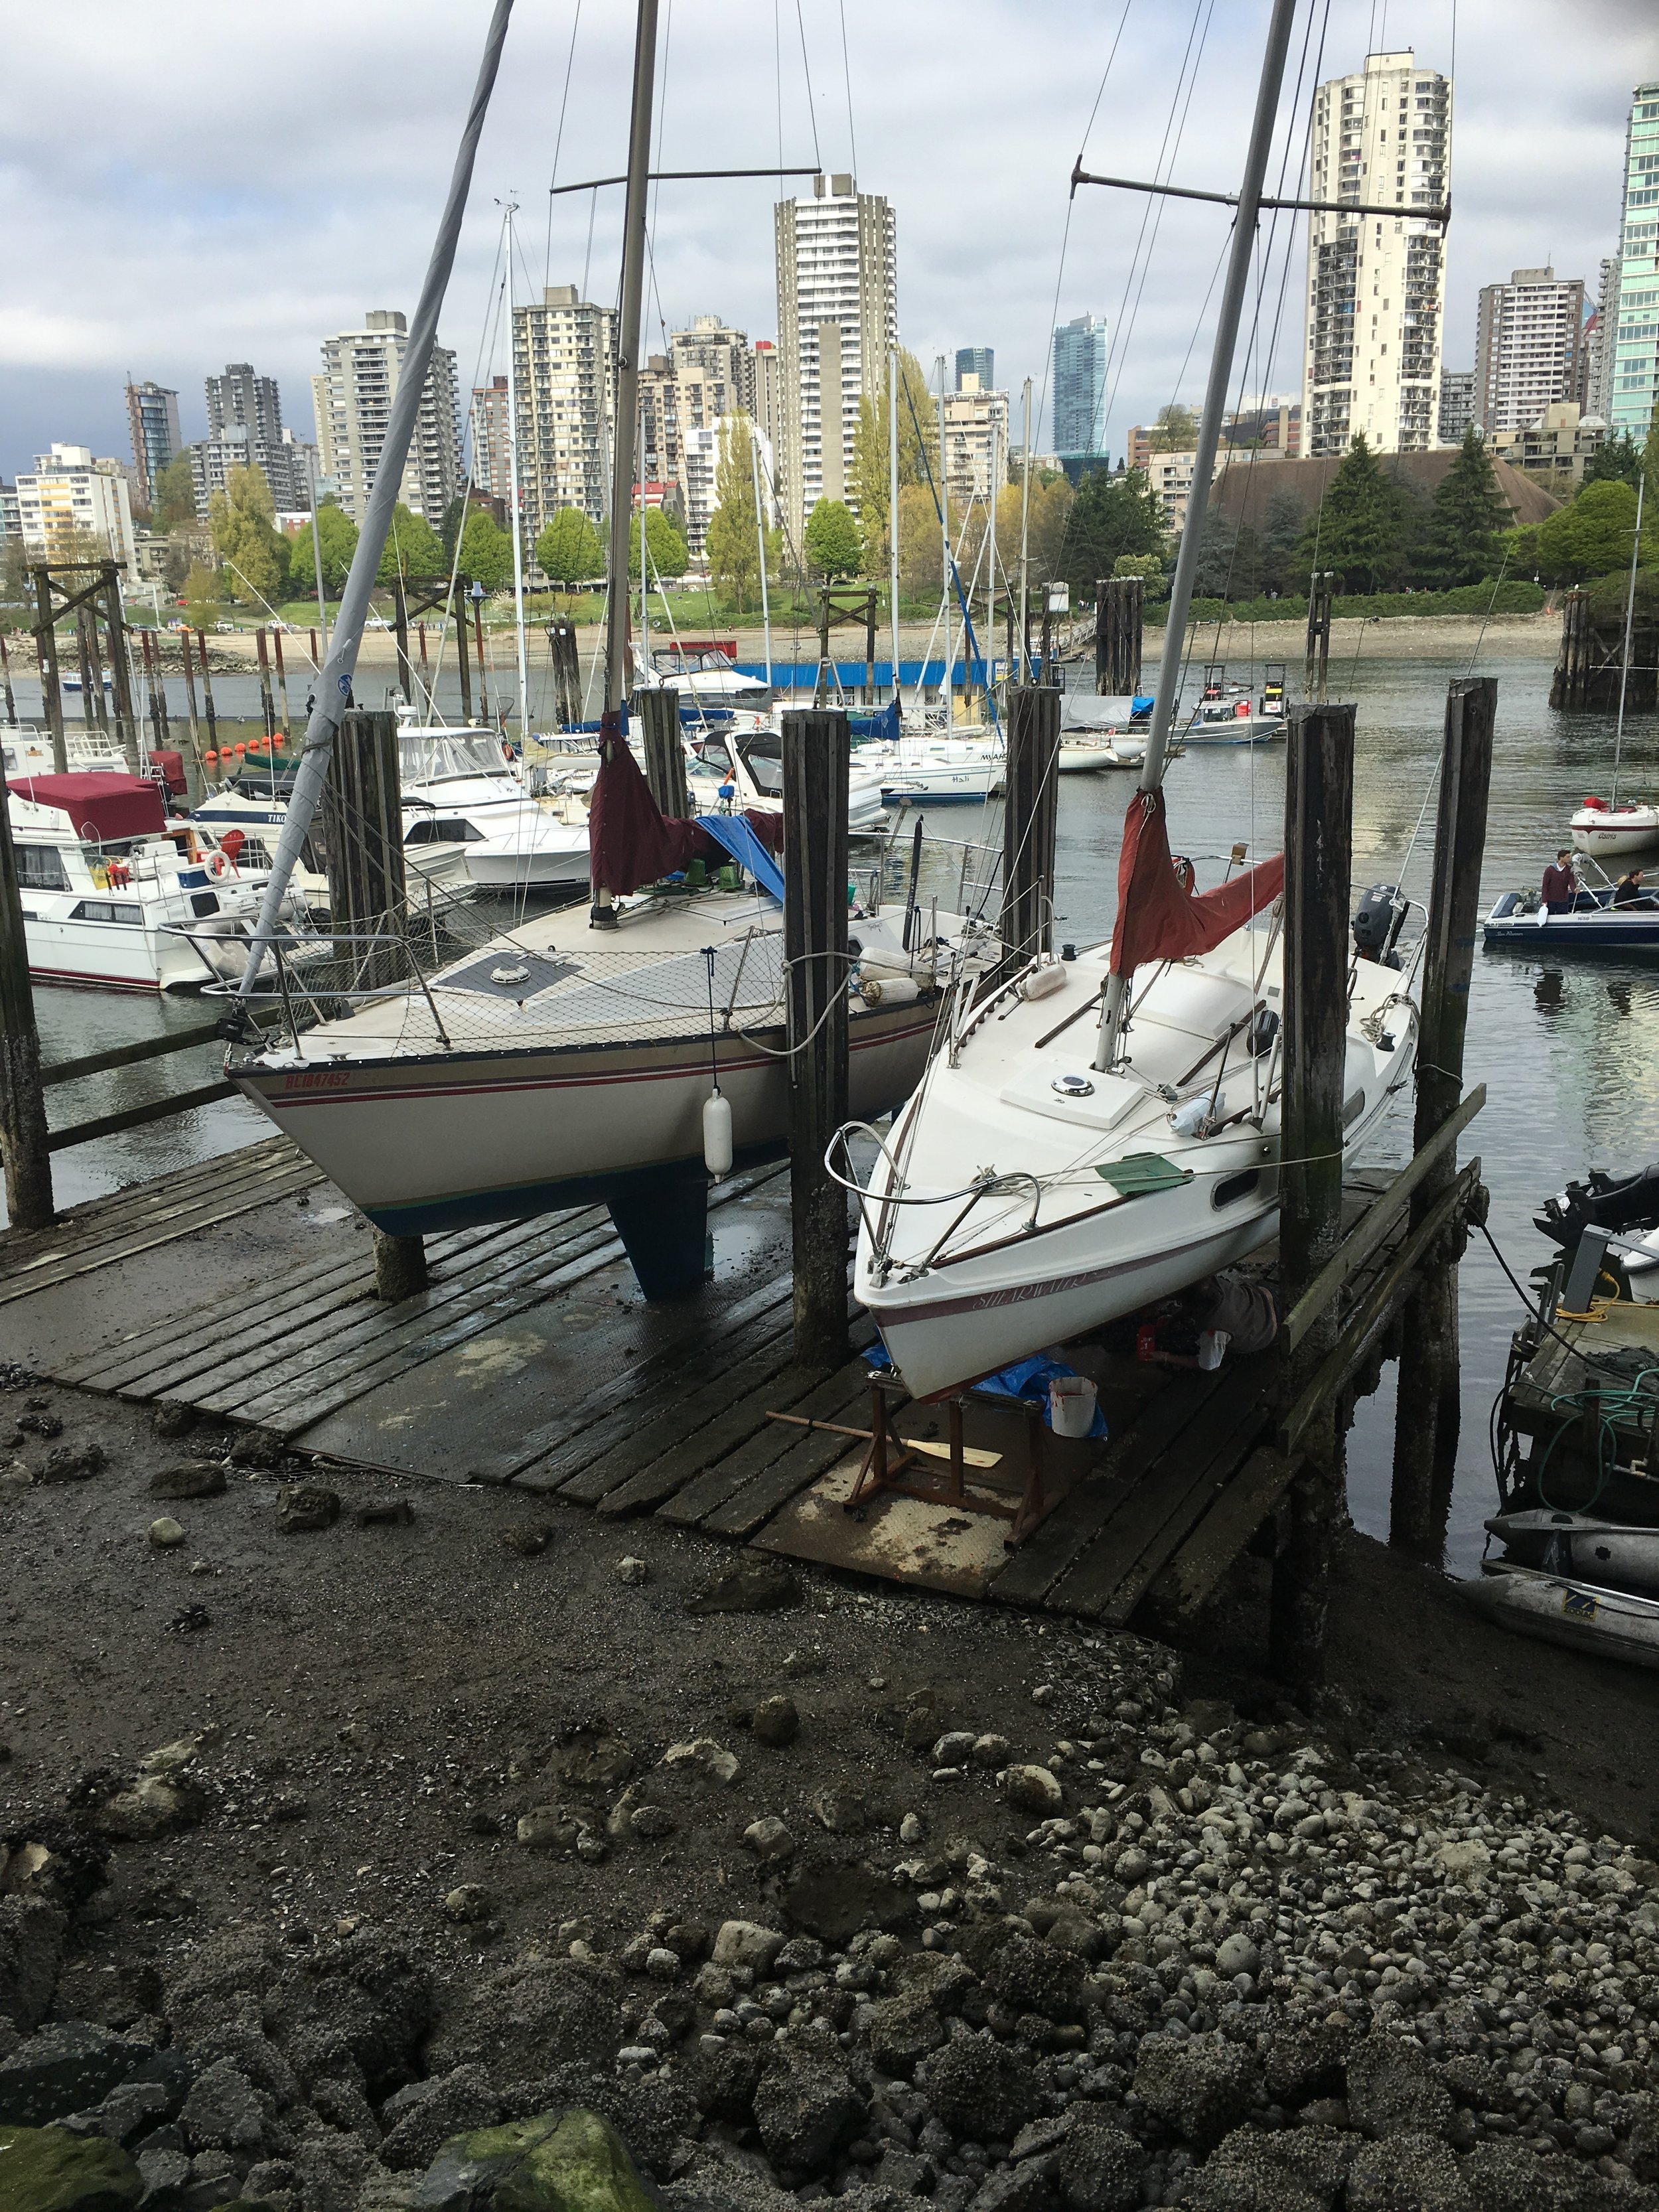
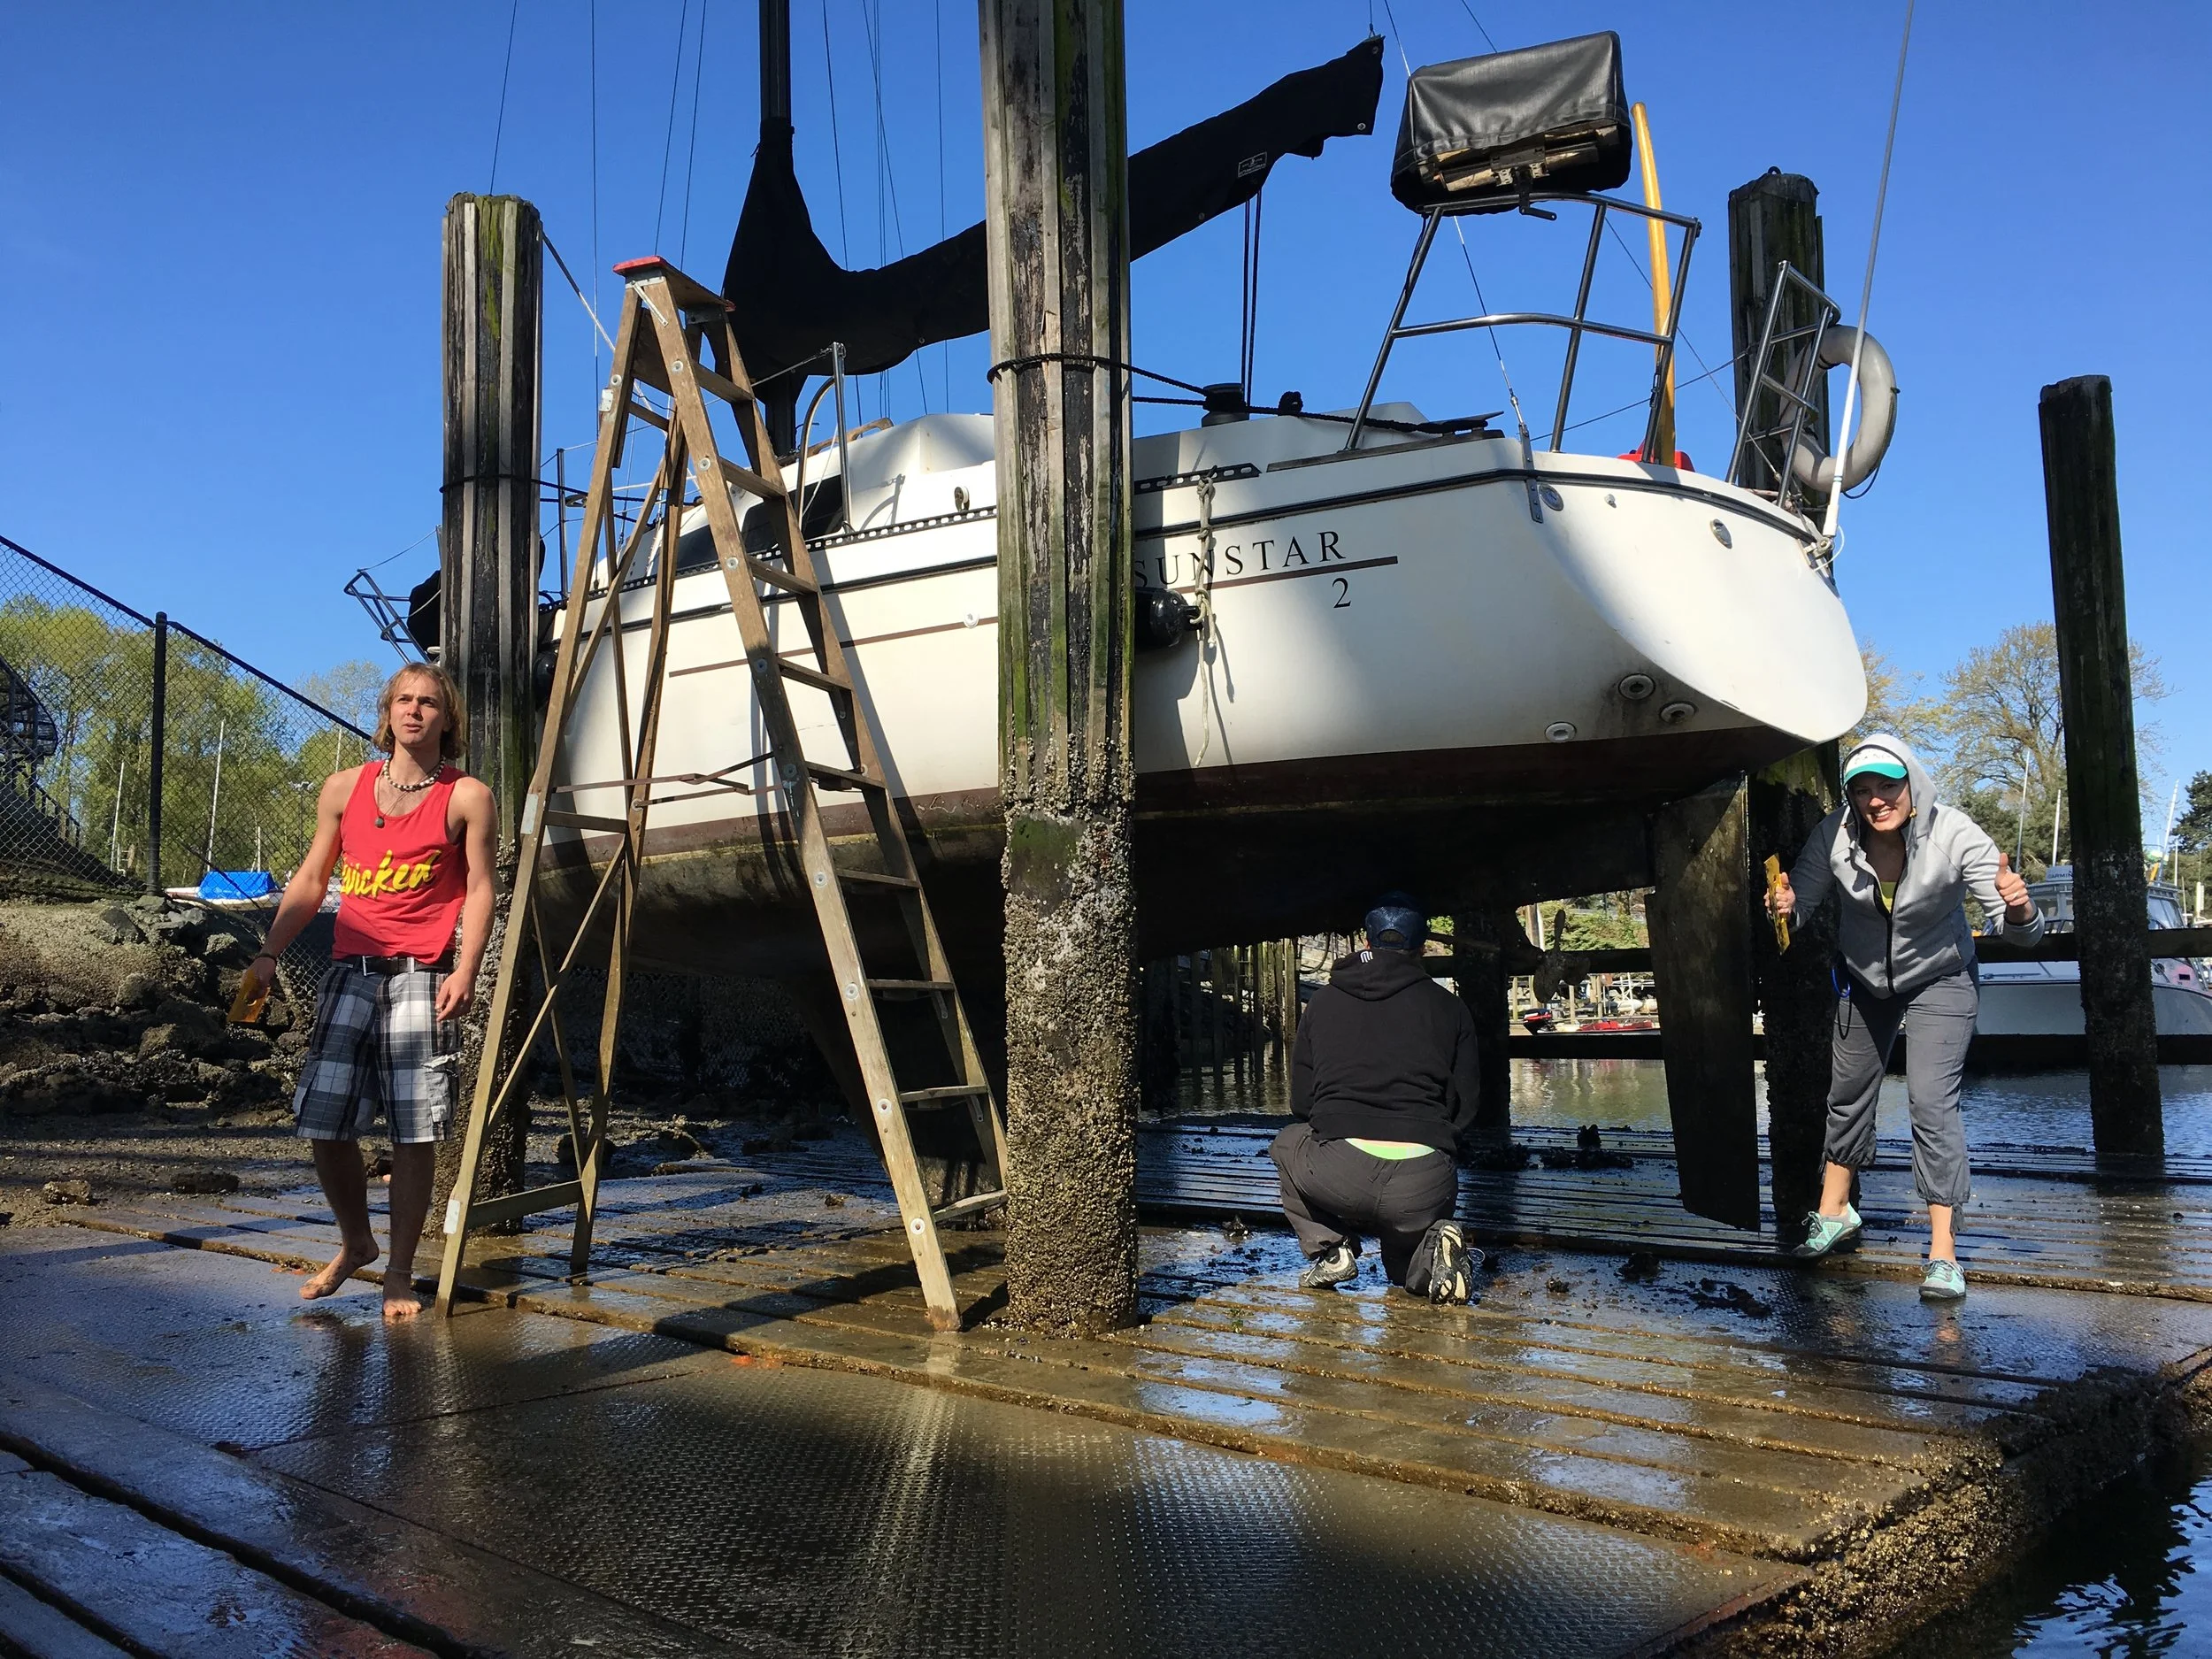
Picking a tide and location: Different locations in the world have different tidal variations. It would be convenient to stop by the tidal grid a few days or weeks prior and ask for advice on how to use this specific tidal grid. Here in the Pacific North West, we have tide variation up to 30 feet. You need to pick your tide window wisely, as they are not always consistent. You should look at the tide table and calculate how long the work will take you. Make sure the next high tide will be high enough to take you how out of there. I would also recommend adding a few extra hours as buffer. Most boat jobs takes longer than expected. Personally, I picked a tide that had about 9 to 12 feet of variation and gave me about 7-8 hours to get the paint job done. I chose this one a month in advance, since I had a big project to get done and wanted the maximum time I could get for the anti-fouling paint to dry. This didn’t end up being much time. We also created a Facebook event/ boat painting party and luckily, we had at least 10 of our friends show up to help, which made a big difference (see the youtube video below).
Know your keel: You need to find out what type of keel you have. You want to know and be prepared for the way your boat is going to be resting onto the tidal grid. Every keel is different: round, full, flat… you name it! If you have a full keel or the bottom of your keel is flat, you don’t have to worry too much about it. If your keel is round… you’ll simply need to do more a few more steps. Some people let the front of the hull and the keel rest on the surface they picked. If you prefer having your boat levelled, you can use a support for the front of your boat. This might require you to dive or place it during the previous low tide. You can use a steel platform, boat stands or whatever would be strong enough to support your boat.
Preparations: Get to your chosen high tide early. It will give you more time to prepare, and reduce stress. Make sure you have all your gears and tools. Masking tape, paint brush, scrappers, scotch pad, etc. (See list below of gear recommended).
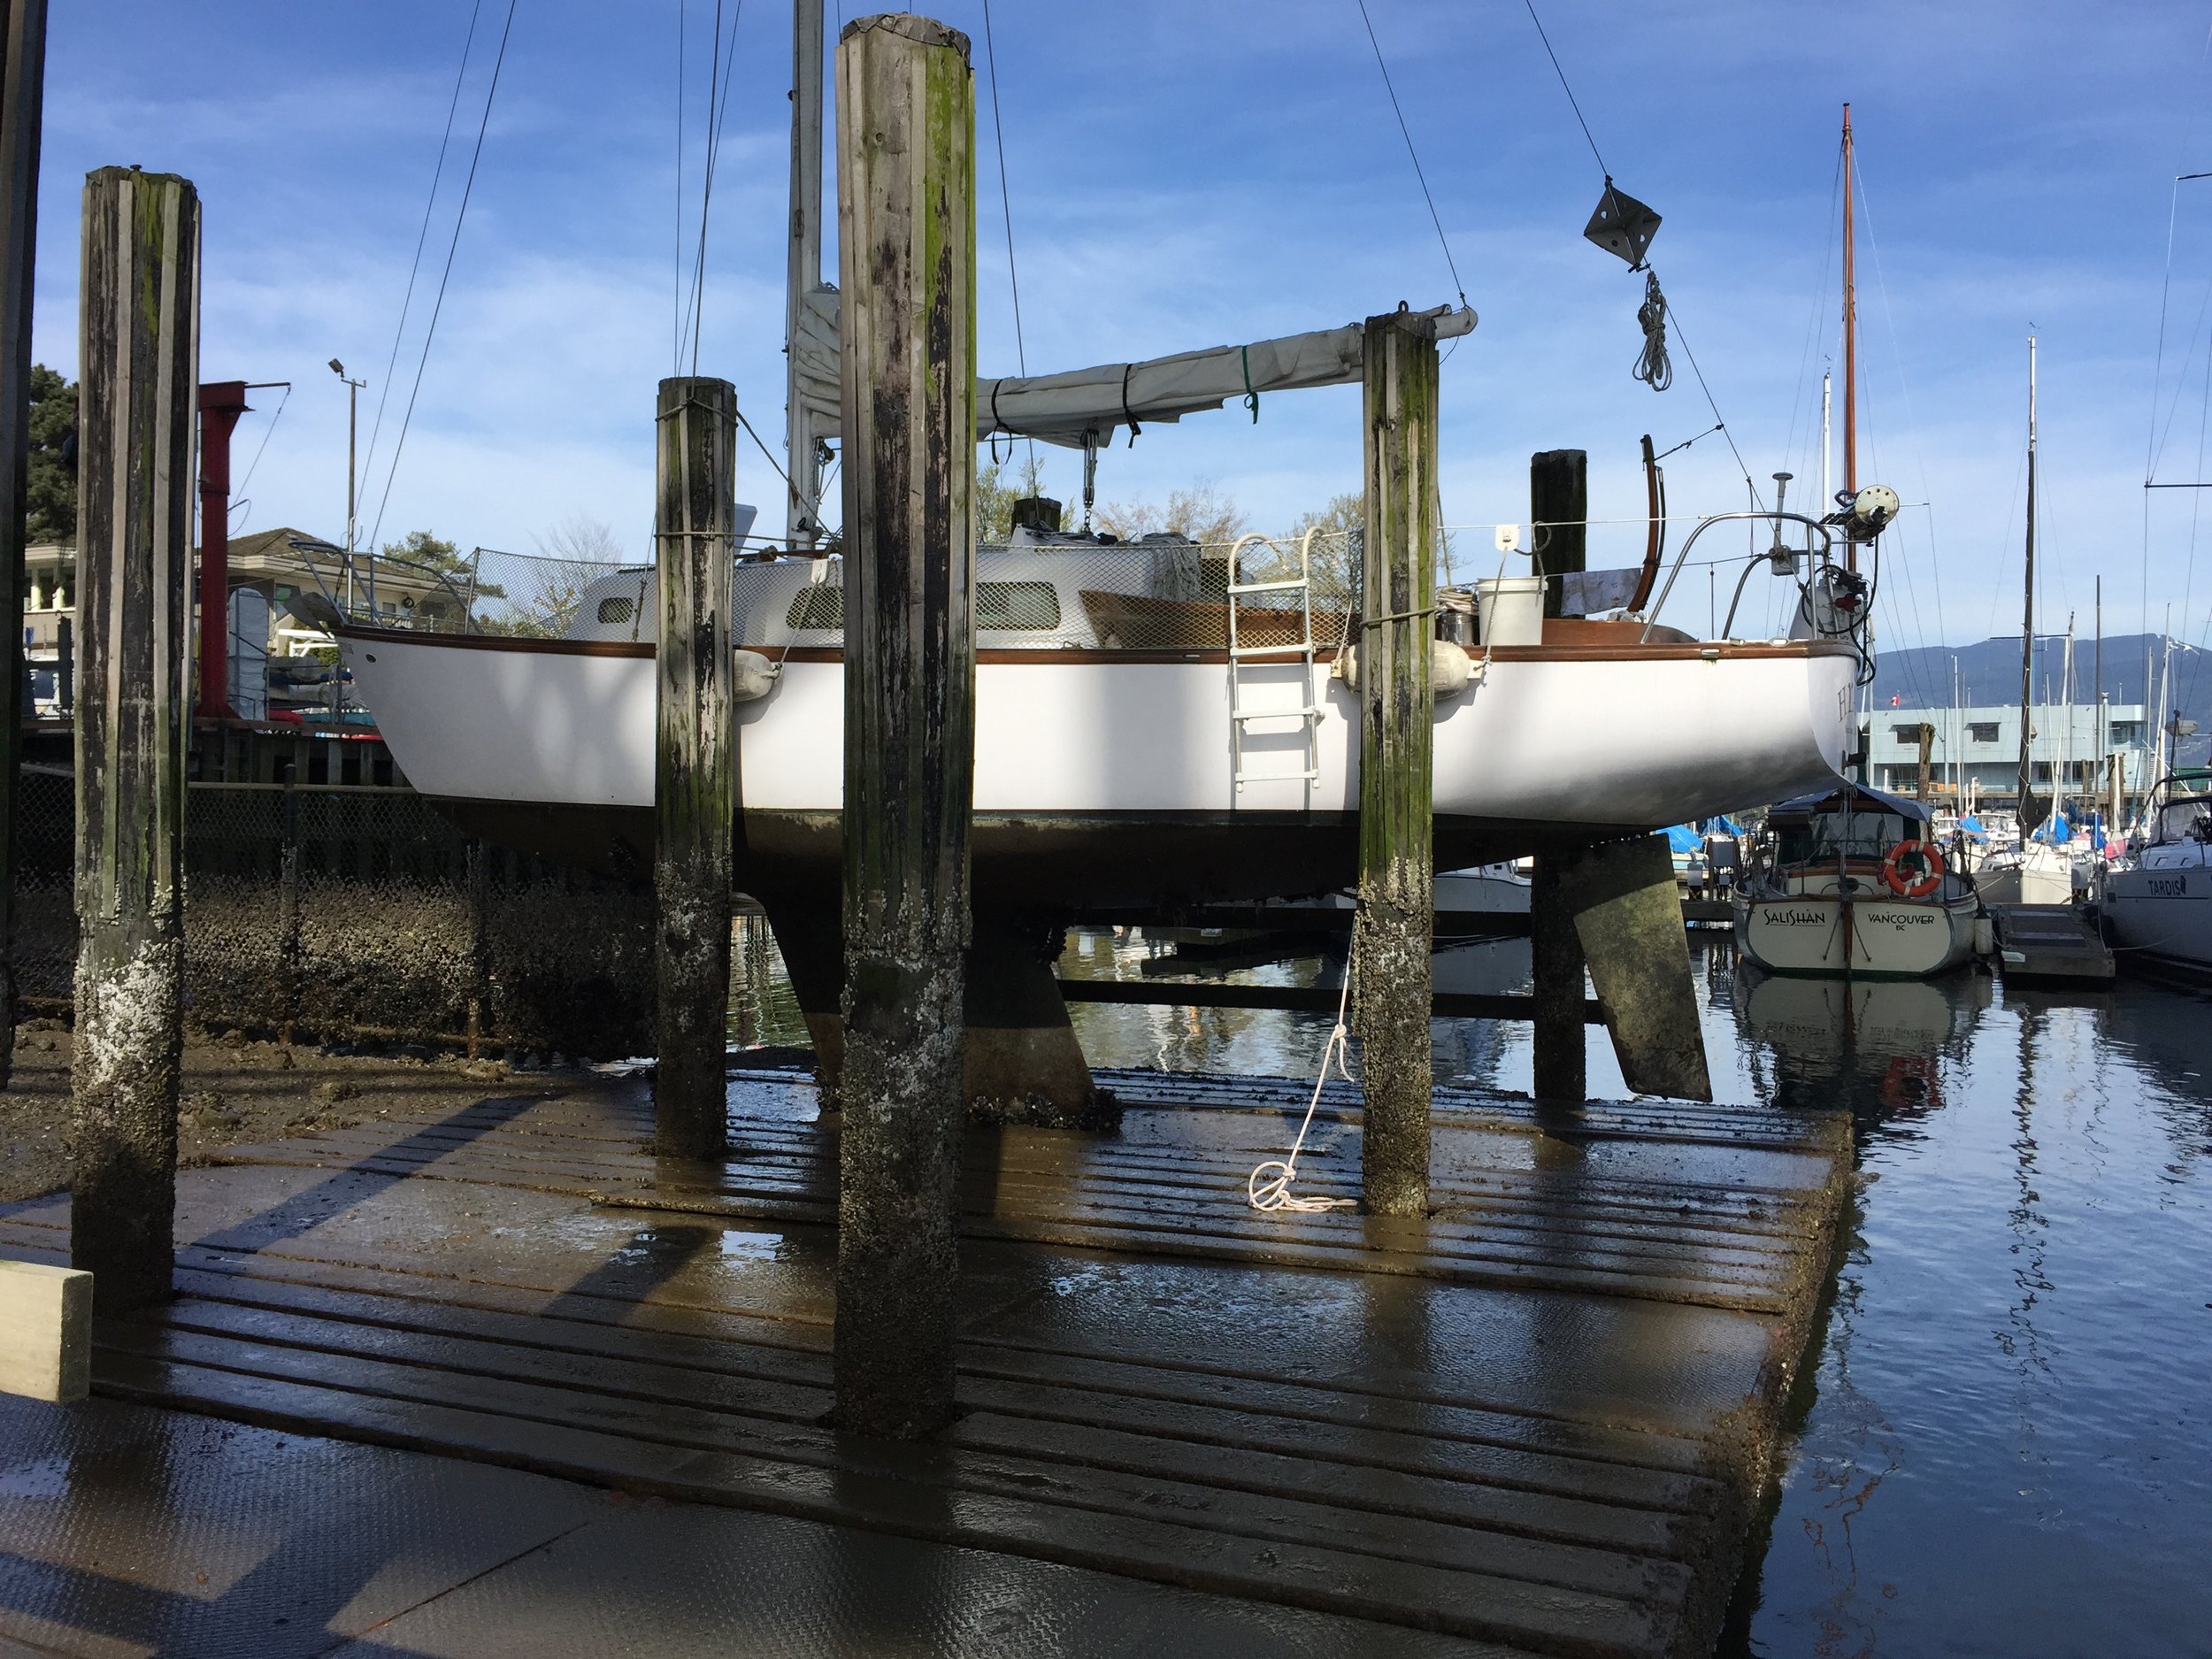
Have your lines, fenders and dinghy ready. Otherwise you will be stranded on your boat until the tide is fully out. Use your fenders horizontally if you are going to use pillars. Use the strong attachment points of your boat: the base of the mast, winches and strong cleats. The tidal grid I was using had two pillars on each side. I adjusted my fenders between the cockpit winch and the aft tidal grid pillar and the other fender between the mast and the forward tidal grid pillar. Your boat and tidal grid might be different and you will have to find out what setup will work best for your situation. Wait for the water to drop as you’ll occasionally adjust the lines to keep the boat upright and against the wall. Don’t over-tighten the lines just yet, until you feel the keel of the boat touching the bottom. Otherwise your boat will likely be leaning outward and it will be putting most of the weight and stress on the lines. You want the boat to be resting slightly against the pillar or dock. To make the boat lean adjustment easier, I recommend using your halyards. One on each side of the boat and attached to either a cleat on the dock or onto a fixture on the pillar. This will allow you to easily adjust your lean against the pillars, which you will only be able to do before the keel touches the ground, this is THE MOST CRUCIAL PART of the whole operation, so be attentive as your keel touches the bottom. You can look at your depth sounder or simply use a line with a weight at the bottom with your draft pre marked on it. Once you feel the keel setting and the lean feels right, you can now tightly secure your lines and you have overcome the most stressful part of putting your boat on the tidal grid. Congratulations!
Time to get to work: At this point you are now waiting for the tide to go out and reveal the bottom of your boat. Time to get to work and arm yourself and your buddies with scrappers, paint brushes, masking take, etc.
Eyes on the tide: As your are doing your hard work, just keep an eye on the tide. Don’t let it creep on you and loose some of your tools or gear.
Revert all of the previous steps as the tide goes out and you are done!
Celebrate: Now time to crack a beer and high five each other… or yourself. You did it! ;)
** Check the Youtube video of our use of the tidal grid down below. **
GEAR YOU MIGHT NEED! Make sure to have all of your gear and tools ready since you won’t have time to run to the store while the tide is going up! Also using those links help us out without any extra cost to you. ;)
-Paint brushes, various sizes: https://amzn.to/2N5fofl
-Paint roller, you might want to get a couple of these if you are having a few people to help you: https://amzn.to/2ZMR1Jo
-Paint pan: https://amzn.to/2N22Nd8
-Lint free paint roller, good quality (boat paint is quite heavy and you don’t want having to keep picking up lint off the boat: https://amzn.to/2PTzyLD
-Good masking tape: https://amzn.to/2PVMSPB
-Kit of 4 various size scrappers: https://amzn.to/2N29nQy
-Rudder/Trim tab zinc anode: https://amzn.to/2UDmhWr
-Shaft zinc anode: https://amzn.to/2HRXrg4
Thanks, Eric Carpentier